Ever wanted to take a photo from a single photoresistor? Of course, you have; who hasn’t? (/s)
With a million dreams gleaming in my eyes and 0.000001 million pixels mounted on my servos, I present to you, the photo_resistor!
TL; DR: this is a photoresistor stuck on a pan-tilt servo mount controlled by an Arduino Nano with information being transferred via the HC-05 Bluetooth module.
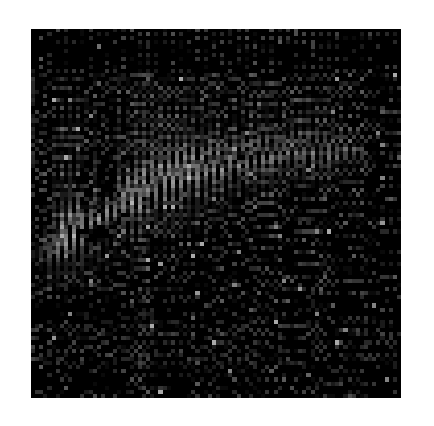
If you’re running wild with your imagination about how the output of this dingus of a device would look like, let me help you get back to the ground: imagine a camera sensor which is the king of the Rolling shutter, with a minimum “shutter speed” of about 15s, has an anorexically low ISO (sensor sensitivity), a dead fish’s eye distortion and has an inbuilt blur-filter (take that Instagram camera!). Well, this is basically it. If you stop squinting, you should see a clear picture of the tube-light being captured using the beloved photo_resistor below. I said stop squinting your eyes!
While I had been playing around with the idea for some time now, with some free time on my hands, I finally got around to materialise this contraption. Let’s break this down to simpler modules; this could be divided into five clearly defined modules. The microcontroller had these responsibilities: reading the light intensity value, controlling the servo, transferring the information via Bluetooth. The PC had to do these: read the data over Bluetooth, render the scanned image. For photo_resistor to work there’s one last thing that needs to be taken care of: the way the light falls onto the photoresistor.
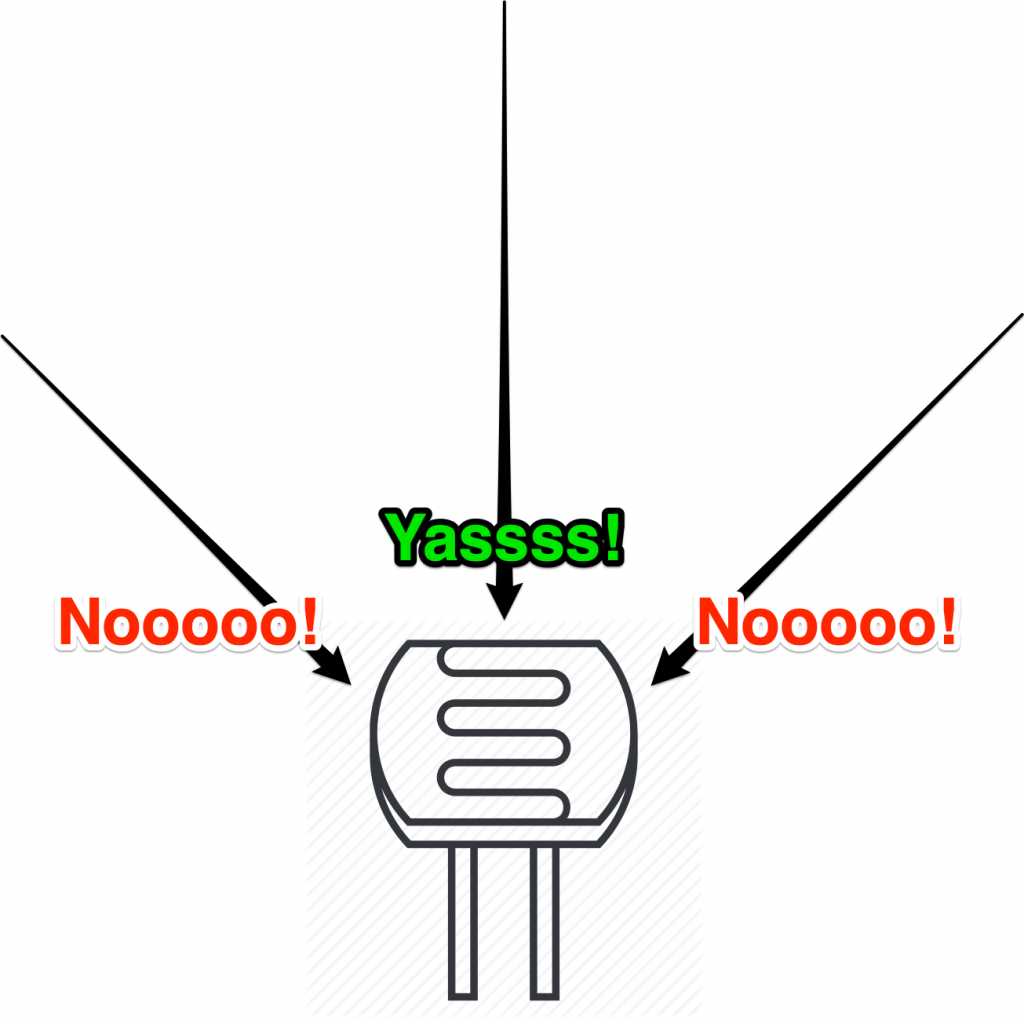
By default, the light rays fall from all directions onto the photoresistor. This will end up polluting our readings and make the final captured image a blurry mess.
So, we encase the photoresistor with a cylindrical pipe with non-reflective interiors walls. The pipe will act like a reverse-laser, making sure that the light rays falling straight onto the photoresistor at ~90° angles hits it directly and the other rays reflect off the almost-non-reflective walls multiple times and die down in amplitude by the time it reaches the photoresistor. The actual pipe I used was a black sheet of paper rolled into a cylinder.
I got down to building each module individually and started putting them together like a car would get assembled on an assembly line. Everything fit in smoothly, servos would move on command, HC-05 would send the data as requested, the python script would receive the data just fine and render the received data. Perfect! I couldn’t have asked for more.

So, conceptually, if I turn the ignition key of my contraption on, it should just work, right? Wrong. The reality is a bitch, innit? While all of my LEGO-like modules were fitting in LEGO-like gloves, it dawned on me that hobbyist servos with hobbyist photoresistors present us with first-rate challenges! I realised that the photoresistor readings had considerable noise and laughable sensitivity. While this did not really come to me as a surprise, what did catch me off-guard though was that the servo had an offset of up to 10° between the time when the armature is moving up vs. the time it is moving down. This resulted in images that looked like how some of the old movies would look if they had the Interlacing Problem.
.jpg)
or
How the shitty servos screwed up my photo
I spent over a day figuring out what had gone wrong before finally concluding that this is an act of god over which I have no jurisdiction. So I turned to the golden answer any Indian would resort to in times of dire necessity, Jugaad. I just added an offset in my code to handle my servos’ atrocity. All in all, it worked out just fine as you can see in the second video above and I lived happily ever after.
You can find all of my code here.